
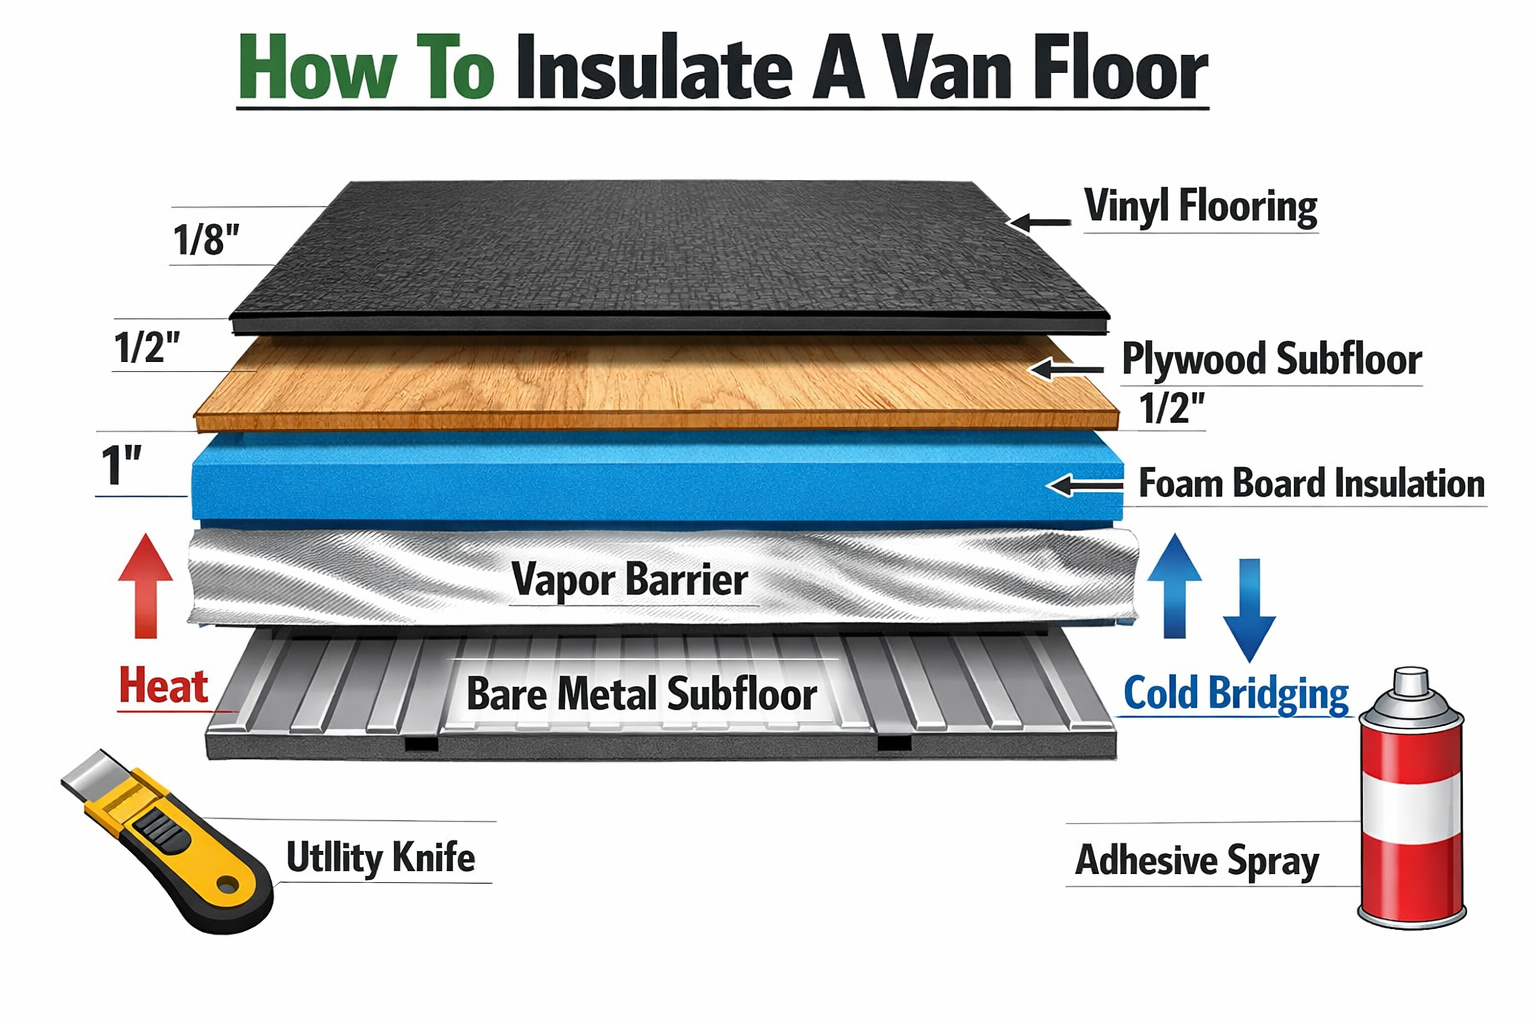
How to insulates a van floor? clean the bare metal, apply a vapor barrier, cut foam board insulation to fit between the ribs, fill gaps with spray foam, then lay a plywood subfloor on top. The whole process takes one to two days and costs roughly $100–$300 in materials depending on van size and insulation choice. Done right, it keeps your van warmer in winter, cooler in summer, and quieter on the road.
Key Takeaways
- Clean and dry metal first moisture trapped under insulation causes rust and mold
- Polyiso foam board is the best value for van floors: high R-value, thin profile, affordable
- R-10 to R-13 is a solid target for van floor insulation in most climates
- Vapor barriers matter — use 6-mil poly sheeting or foil tape to block condensation
- Fill every gap with spray foam to stop cold air from sneaking through
- Plywood subfloor (3/4 inch) gives you a solid, screwable surface for finishing
- Thinsulate works well in tight spots where foam board won’t fit flat
- Avoid fiberglass batts — they absorb moisture in vans and lose R-value fast
- Budget $100–$300 for a full floor insulation job on a standard cargo van
- The floor is often the last priority — walls and ceiling lose more heat, but floors matter for comfort underfoot and condensation control
Why Does Van Floor Insulation Actually Matter?
Van floor insulation reduces heat loss, blocks cold from the ground, and prevents condensation that leads to rust. Metal floors conduct cold directly from the road surface into your living space. Without insulation, you feel that cold through every layer of flooring above it.
Here’s what floor insulation does in practical terms:
- Thermal barrier: Slows heat transfer between the cold road and your van interior
- Condensation control: A vapor barrier stops warm interior air from hitting cold metal and forming moisture
- Sound dampening: Foam board and mass-loaded vinyl reduce road noise noticeably
- Comfort underfoot: A properly insulated floor feels warmer and less hollow when you walk on it
Quick note: The floor isn’t where vans lose the most heat — walls and ceiling lose more. But floor insulation is still worth doing because condensation on an uninsulated floor can rust your van from the inside out.
What Materials Do You Need To Insulate A Van Floor?
The best materials for van floor insulation are polyisocyanurate (polyiso) foam board, a vapor barrier, spray foam for gaps, and a plywood subfloor. Here’s a full materials list with estimated costs.
| Material | Purpose | Estimated Cost |
|---|---|---|
| Polyiso foam board (1–2 inch) | Main insulation layer | $40–$80 |
| 6-mil poly sheeting or foil tape | Vapor barrier | $15–$25 |
| Great Stuff spray foam | Gap filler | $10–$20 |
| 3/4-inch plywood (2 sheets) | Subfloor | $60–$100 |
| Construction adhesive | Bond layers | $10–$15 |
| Utility knife + straight edge | Cutting foam | Already owned or $15 |
| Drill + screws | Securing plywood | Already owned or $20 |
Best insulation options ranked for van floors:
- Polyiso foam board — Best R-value per inch (R-6 to R-6.5 per inch), rigid, easy to cut, moisture resistant
- XPS (extruded polystyrene) — Slightly lower R-value (R-5 per inch), blue or pink board, widely available
- EPS (expanded polystyrene) — Cheapest option, R-3.8 per inch, works fine for mild climates
- Thinsulate (3M) — Flexible, good for tight spots and wheel wells, R-value varies by thickness
- Fiberglass batts — Avoid these. They trap moisture and compress, losing R-value fast in a van
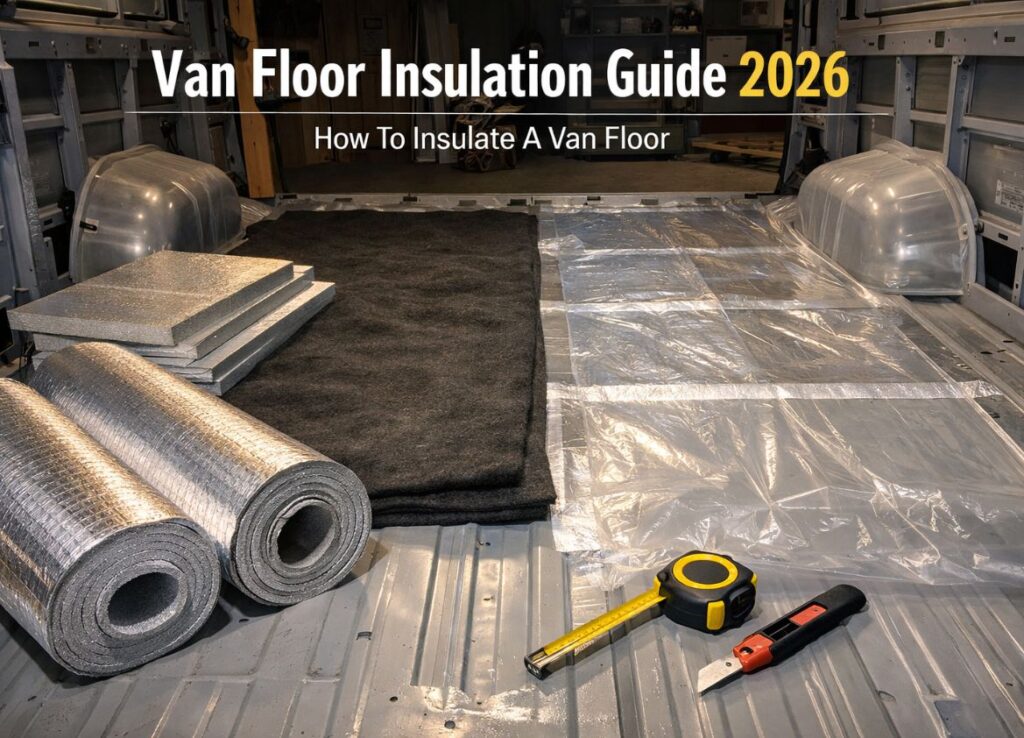
How To Insulate A Van Floor: Step-by-Step Instructions
Follow these steps in order. Skipping steps — especially cleaning and vapor barrier — leads to rust problems down the road.
Step 1: Remove Everything From the Floor
Pull out any factory flooring, rubber mats, or wood panels the van came with. You want bare metal. Use a pry bar and screwdriver. Check underneath for any existing rust and treat it with a rust converter before moving forward.
Step 2: Clean and Dry the Metal Floor
Wipe down the entire floor with a degreaser. Let it dry completely — at least a few hours in a warm space. Any moisture trapped under insulation will cause rust.
Pro tip: Use a heat gun or fan to speed up drying if you’re working in a damp environment.
Step 3: Apply a Vapor Barrier
Lay 6-mil poly sheeting or foil-faced bubble wrap across the entire floor. Overlap seams by at least 6 inches and tape them with foil tape. The goal is a continuous barrier with no gaps where warm air can reach cold metal.
Some builders skip this step with polyiso because it’s moisture-resistant. That’s fine, but taping all seams with foil tape is still a smart move.
Step 4: Cut Foam Board to Fit Between Floor Ribs
Van floors have raised metal ribs running across them. Measure the depth and width of each channel between ribs. Cut your foam board to fit snugly into each channel using a utility knife and straight edge.
- Aim for a friction fit — tight enough that it doesn’t shift
- Use construction adhesive or spray foam to hold pieces in place
- Stack two layers of thinner foam if you need more R-value and the ribs are deep enough
Step 5: Fill All Gaps With Spray Foam
Any gap between foam board pieces, around edges, or over the ribs themselves needs to be filled. Use Great Stuff or a similar expanding spray foam. Let it cure fully (usually 1–2 hours), then trim the excess flush with a utility knife.
Common mistake: People leave gaps thinking they’re small enough not to matter. Cold air finds every gap. Fill them all.
Step 6: Install the Plywood Subfloor
Cut 3/4-inch plywood to fit the full floor area. This is your structural subfloor — it needs to be solid and flat. Screw it down through the foam and into the van’s floor ribs using self-tapping screws or bolt it to existing anchor points.
- Use two sheets of plywood for a standard cargo van
- Leave a small gap (1/8 inch) at the walls for expansion
- Check that the floor is level before finishing
Step 7: Add Your Finish Flooring
Once the plywood is down, you can install vinyl plank flooring, laminate, or a simple rubber mat on top. Vinyl plank is the most popular choice for van builds — it’s waterproof, durable, and easy to cut.
How Much Does It Cost To Insulate A Van Floor?
A DIY van floor insulation job costs between $100 and $300 depending on van size and materials chosen. Here’s a realistic budget breakdown for a standard 148-inch wheelbase cargo van (like a Ford Transit or Ram ProMaster):
| Item | Budget Option | Mid-Range Option |
|---|---|---|
| Foam board insulation | $40 (EPS) | $70 (Polyiso) |
| Vapor barrier | $15 | $25 |
| Spray foam | $10 | $15 |
| Plywood subfloor | $60 | $90 |
| Adhesive + tape | $15 | $20 |
| Total | ~$140 | ~$220 |
Finish flooring (vinyl plank) adds another $80–$150 on top of that. If you hire someone to do the full floor build, expect to pay $500–$1,000+ in labor.
What R-Value Should a Van Floor Have?
Aim for R-10 to R-13 for a van floor in most North American climates. That’s achievable with 1.5 to 2 inches of polyiso foam board in the floor channels plus any additional layer you can fit under the plywood.
R-value by insulation type and thickness:
- 1 inch polyiso = R-6 to R-6.5
- 1.5 inch polyiso = R-9 to R-10
- 2 inch polyiso = R-12 to R-13
- 1 inch XPS = R-5
- 2 inch XPS = R-10
If you’re building for cold-weather van life (below freezing regularly), push toward R-13. For mild or warm climates, R-6 to R-8 is plenty.
Common Mistakes When Insulating a Van Floor
These are the errors that cause problems months after the build is done.
- Not cleaning the floor first — Grease and moisture under insulation = rust
- Skipping the vapor barrier — Condensation builds up and corrodes the metal floor
- Leaving gaps unfilled — Cold bridges through every gap you leave
- Using fiberglass batts — They get wet, compress, and lose effectiveness fast
- Thin plywood subfloor — 1/2 inch plywood flexes and can crack vinyl flooring; use 3/4 inch
- Not accounting for floor height — Each layer of insulation raises your floor; plan for door clearance and furniture height
FAQ: Van Floor Insulation
Do I need a vapor barrier on a van floor?
Yes, especially in climates with temperature swings. Warm interior air hits cold metal and condenses into water. A vapor barrier stops that moisture from reaching the metal and causing rust.
Can I use spray foam only for van floor insulation?
You can, but it’s not ideal as a primary insulation layer. Spray foam is best for filling gaps around rigid foam board, not as the main insulation. It’s harder to control thickness and costs more per R-value than foam board.
How thick should van floor insulation be?
Most van floor channels are 1 to 2 inches deep. Fill them completely with foam board. If you can add a second layer over the ribs before the plywood, do it — every extra inch of insulation helps.
Is polyiso better than XPS for a van floor?
Polyiso gives you more R-value per inch (R-6 vs. R-5) and is usually cheaper per sheet. XPS is slightly more moisture-resistant at the edges. Either works well; polyiso is the better value in most cases.
How long does van floor insulation take?
Plan for one full day to insulate and install the plywood subfloor. If you’re also adding finish flooring, add another half day. Drying and curing time for spray foam adds 1–2 hours.
Does van floor insulation reduce road noise?
Yes, noticeably. Foam board and a solid plywood subfloor dampen road vibration and tire noise. For even better sound dampening, add a layer of mass-loaded vinyl (MLV) under the plywood.
What van floor insulation works best for winter?
Polyiso foam board at 2 inches thick (R-12 to R-13) is the best choice for cold-weather builds. Pair it with a vapor barrier and sealed spray foam gaps for maximum performance.
Can I insulate a van floor without removing the factory floor?
It’s not recommended. Factory floors often trap moisture underneath and don’t give you a flat surface to work with. Removing them lets you check for rust and do the job properly.
Conclusion: Your Next Steps for a Warmer Van Floor
Knowing how to insulate a van floor is one of the most practical skills in any van conversion. The process is straightforward: clean the metal, add a vapor barrier, cut and fit foam board, seal every gap, and lay down a solid plywood subfloor. Do it right once and you won’t have to redo it.
Your action plan:
- Measure your van floor and calculate how many sheets of foam board you need
- Buy polyiso foam board (1.5–2 inch), 6-mil poly sheeting, spray foam, and 3/4-inch plywood
- Clear a full day to do the job without rushing
- Fill every gap — this is the step most people skip and regret later
- Finish with vinyl plank flooring for a clean, waterproof surface
A well-insulated van floor makes a real difference in daily comfort, especially in cold weather. It’s not the flashiest part of a van build, but it’s one of the most important.
References
- U.S. Department of Energy. (2023). Insulation. energy.gov. https://www.energy.gov/energysaver/insulation
- 3M. (2022). Thinsulate Acoustic Insulation for Vehicles. 3m.com. https://www.3m.com
- Building Science Corporation. (2021). Understanding Vapor Barriers. buildingscience.com. https://www.buildingscience.com